


How To Set Levels And Avoid Clipping When Recording?

A Guide to Setting Levels and Preventing Clipping During Recording
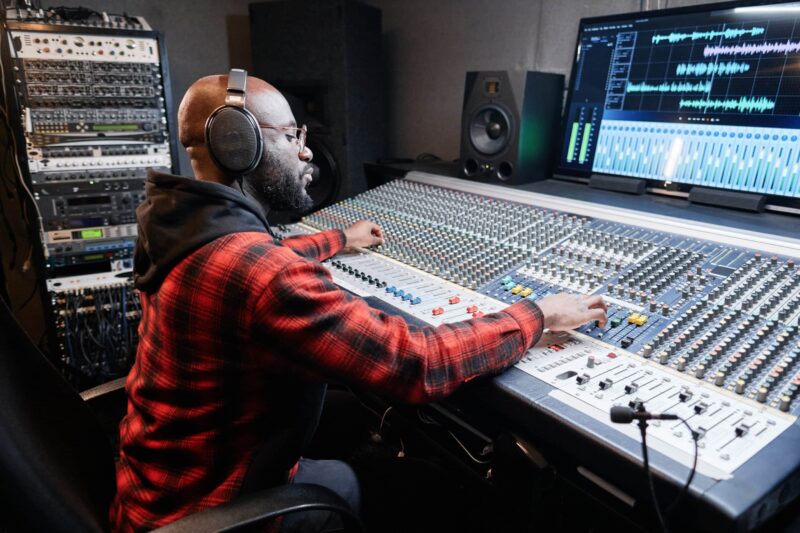
Recording audio is an intricate art that demands a delicate balance between capturing dynamic performances and maintaining audio fidelity. One of the critical challenges in this process is managing audio levels to avoid the dreaded clipping phenomenon. In this comprehensive guide, we’ll explore the art of setting appropriate audio levels and share practical techniques to prevent clipping during recording sessions. Whether you’re a novice or an experienced audio engineer, mastering this aspect of recording is key to achieving pristine, distortion-free results.
Understanding Clipping and Its Effects
Clipping occurs when an audio signal exceeds the maximum level that a recording system can handle. This leads to distortion and a harsh, unpleasant sound that can be irreparably damaging to your recording quality. Understanding the causes and consequences of clipping is the first step toward preventing it.
Setting Levels for Optimal Recording
- Choose the Right Microphone Gain:
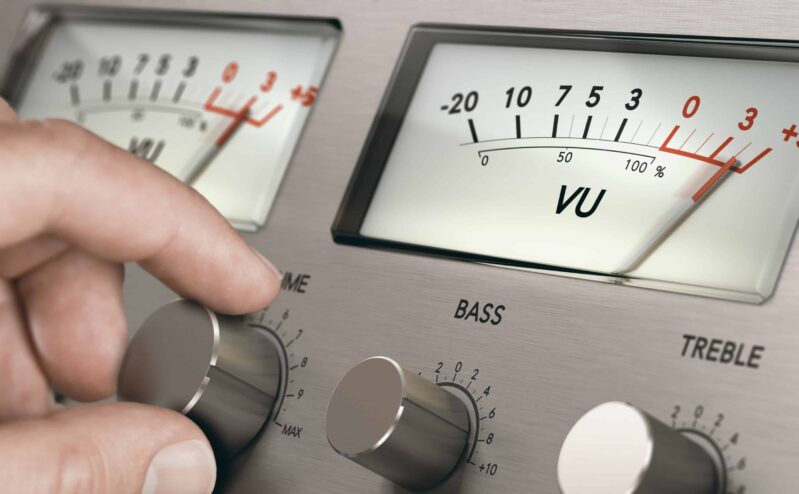
Adjust the microphone gain to achieve a strong signal without pushing it too close to the peak level. Start with a lower gain setting and gradually increase it until you achieve a clean, clear signal. - Monitor Input Levels:
Use the level meters on your audio interface or mixer to monitor input levels. Ensure that the audio signal hovers around the ideal level without entering the red zone. - Avoid Overloading Preamps:
Preamps in your audio interface can introduce distortion if overloaded. Keep preamp levels controlled to prevent distortion at the source. - Use Sound Checks:
Conduct thorough sound checks before recording to identify potential issues. Have the performer or sound source deliver their loudest performance to ensure that the levels stay within an acceptable range.

Preventing Clipping During Recording
- Enable Headroom:
Leave some headroom by not recording at the maximum level. Aim to have the loudest parts of the audio signal peak around -6 dB to -3 dB. This provides a safety buffer against unexpected spikes. - Monitor With Headphones or Monitors:
Use high-quality headphones or studio monitors to accurately hear the audio as it’s being recorded. Listen for any distortion or unnatural artifacts.
Be prepared to change your settings as audio levels change. For example, if you are recording a singer who switches from whispering to shouting, you may need to lower your input gain to avoid clipping. - Set Limiter Thresholds:
If your audio interface or recording software supports it, set up a limiter with a conservative threshold. This acts as a safety net, automatically reducing levels when they approach clipping. - Use Pop Filters and Windshields:
Employ pop filters and windscreens to reduce plosive sounds and protect against sudden bursts of air that can cause clipping.
Real-Time Monitoring and Post-Processing
- Utilize Monitoring Features:
Some audio interfaces offer real-time monitoring features that allow you to hear your signal before it’s recorded. This can help you make level adjustments on the fly. - Recording at a Higher Bit Depth:
Recording at a higher bit depth (such as 24-bit, or 32-bit float) increases the dynamic range and provides more headroom, reducing the risk of clipping. - Digital Audio Workstation (DAW) Tools:
In your DAW, use metering tools and gain adjustments to refine levels during the editing process.
Our final thoughts
Achieving optimal audio levels and preventing clipping requires a vigilant approach and a deep understanding of your equipment’s capabilities. By choosing the right microphone gain, monitoring levels diligently, and employing safety measures like headroom and limiters, you can ensure that your recordings are free from distortion and maintain the highest audio quality. As you refine your skills in setting levels, you’ll create recordings that resonate with clarity and professional excellence.
To learn more adjusting your audio gains refer to our article, “What Is Gain Staging, And How Does It Affect Recording?“
For more information on capturing great audio, please feel free to contact us!
Bringing the Distant Near & Keeping Your Vision Clear.


Can Your Mic Reach As Far Your Lens?

Bringing the Distant Near & Keeping Your Vision Clear.
Clear Vision in Seconds, No Contact Required!
