5 Steps To Reducing Background Noise When Recording Audio


Background noise is one of the most common problems encountered when recording audio. Whether it’s the hum of an air conditioner, the buzz of a fan, or the chatter of people nearby, unwanted sounds can ruin your recordings and make them sound unprofessional. Fortunately, there are some ways to reduce background noise when recording audio, and in this blog post, we will share some tips and tricks that you can use to improve your sound quality.
1: Reduce noise through choosing a quiet location
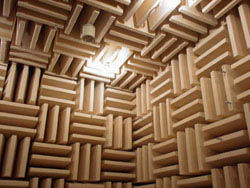
The first and most obvious way to reduce background noise is to choose a quiet location for your recording. If possible, avoid places with loud or unpredictable noises, such as busy streets, airports, or construction sites. Instead, look for places that are isolated from external sources of sound, such as a closet, a basement, or a soundproof booth. You can also use curtains, blankets, or foam panels to cover the walls and windows of your recording space and absorb some of the noise.
2: Use a high-quality, directional microphone

Another way to reduce background noise is to use a directional microphone that picks up sound from a specific direction and rejects sound from the others. There are different types of directional microphones, such as cardioid, supercardioid, and hypercardioid, that have different patterns of sensitivity.
Depending on your recording situation, you can choose the microphone that best suits your needs. For example, if you are recording a single speaker or singer, you can use a cardioid microphone that picks up sound from the front and rejects sound from the sides and back. If you are recording a group of people or an instrument, you can use a supercardioid or hypercardioid microphone that picks up sound from a narrower angle and rejects more sound from the sides. (See our article, “What Are The 5 Most Common Microphone Pickup Patterns?”)
3: Adjust the microphone position

Another way to reduce background noise is to adjust the position and settings of your microphone to optimize the signal-to-noise ratio. This means that you want to capture as much of the desired sound as possible and as little of the unwanted sound as possible. To do this, you can follow these guidelines:
- Place the microphone close to the sound source, but not so close that it causes distortion or pops.
- Angle the microphone away from the noise source, such as a window, a door, or a computer fan.
- Use a pop filter or a windscreen to reduce plosives and wind noise.
- Use a shock mount or a stand to reduce vibrations and handling noise.
4: Choose a Low-Noise Preamp and Interface
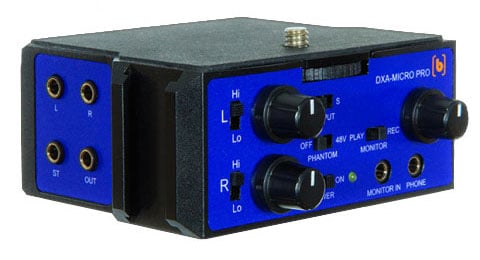
Your choice of preamplifier and audio interface matters. Low-noise preamps ensure that the initial signal from your microphone is clean and free from unnecessary noise artifacts. The quality of these devices will affect your final results as much, or more, than the microphone being used. Note: The amplifiers built into cameras are typically lower quality than those of dedicated amplifiers.
5: Record Using Higher Gains
Using a higher gain (signal) level for the primary microphone helps minimize background noise during post-processing. Aim for a strong signal without pushing it to the point of clipping or distortion. (See our article, “What Is Gain Staging, And How Does It Affect Recording?“)
Best Advice: Practice and Experiment
Achieving optimal background noise reduction requires practice and experimentation. Test different setups, placements, and settings to discover what works best for your specific recording scenarios.
If All Else Fails: Use Noise Reduction
Another way to reduce background noise is to use noise reduction software during post-production that can filter out unwanted sounds from your recordings. There are many software tools available that can help you with this task, such as Audacity, Adobe Audition, or iZotope RX. These tools usually work by analyzing your audio file and identifying the noise profile (the frequency spectrum of the background noise). Then, they apply a noise reduction algorithm that subtracts the noise profile from your audio file and leaves behind the clean signal.
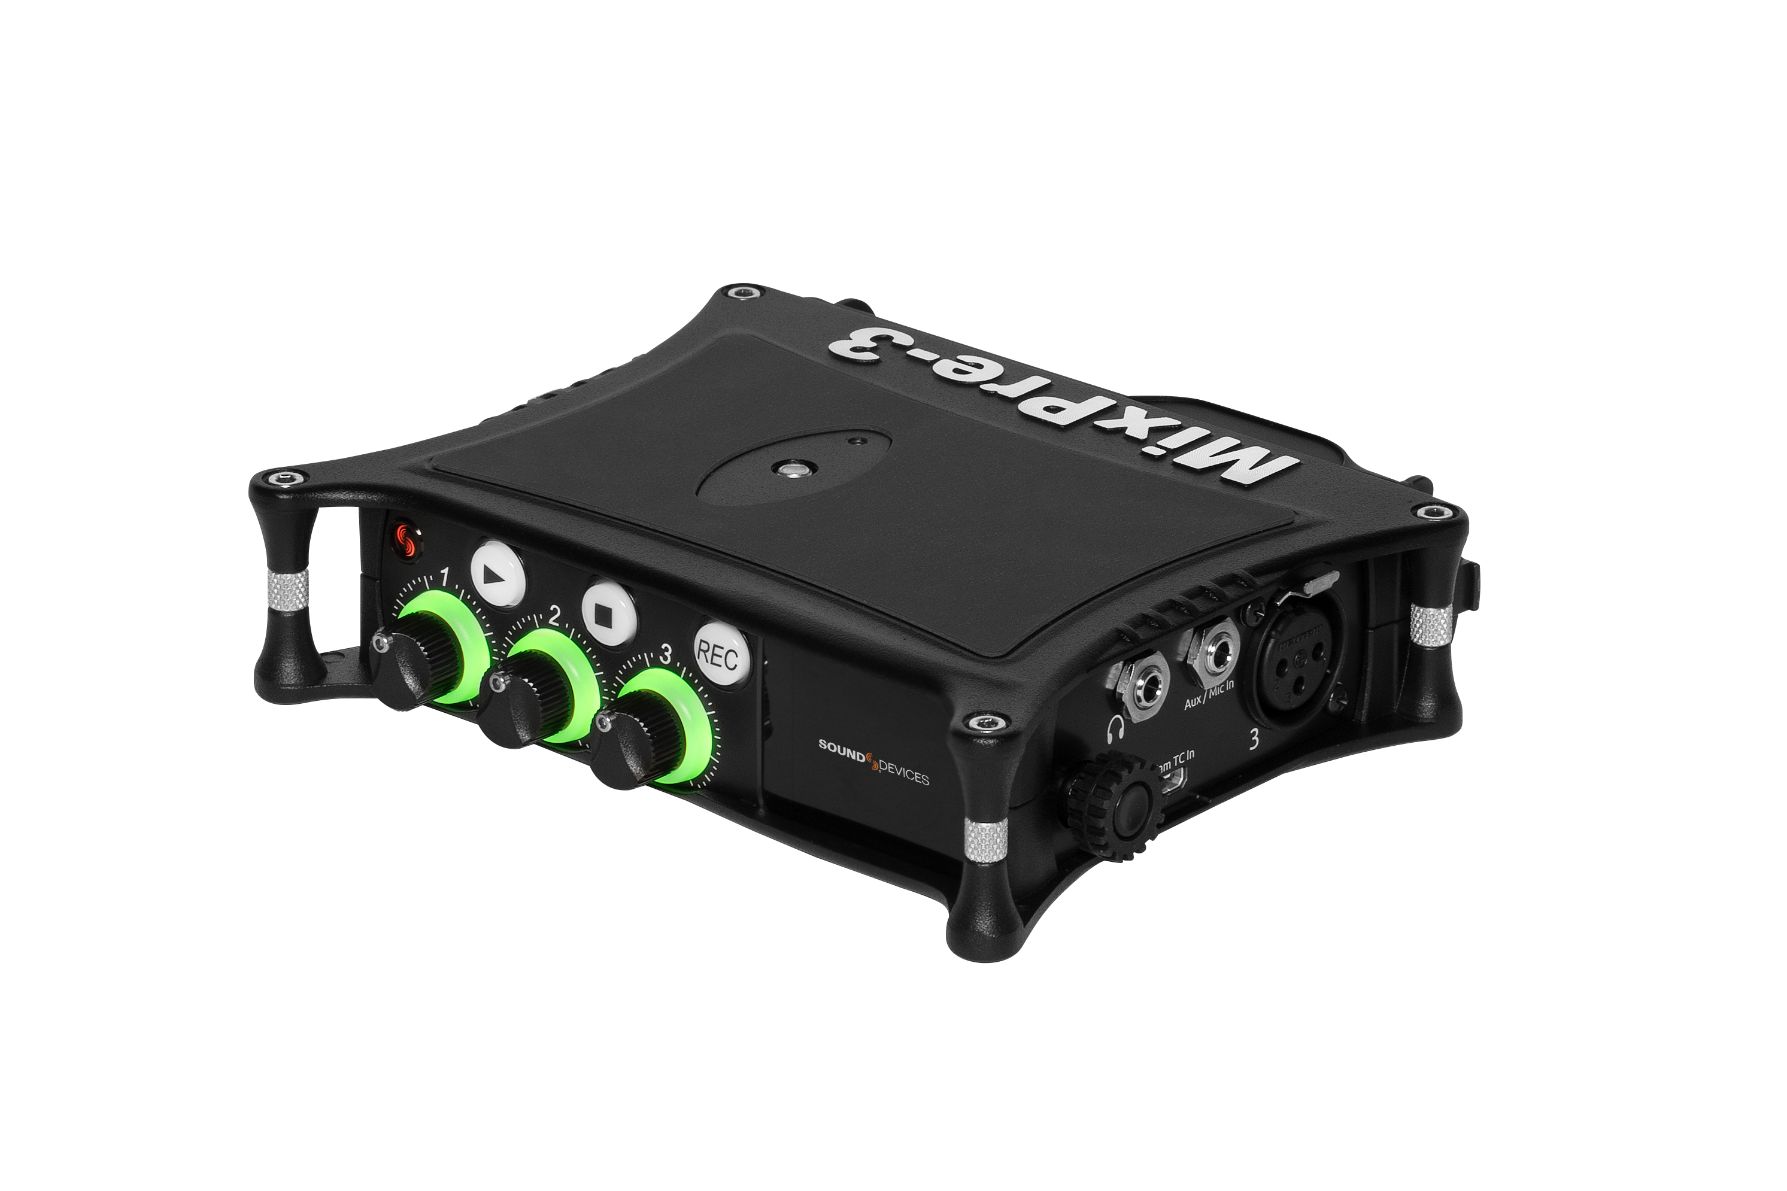
If post processing is not possible, such as when live streaming a program, noise reduction hardware is available that can reduce background noise in real time. Sound Devices offers the Noise Assist plugin for their MixPre II recorder-USB interface as well as their 8-Series mixer- recorders. These are excellent hardware products, and the plugin does a great job of recognizing and reducing background noise. Cedar Audio also offers a range of products focused on “audio restoration, dialogue noise suppression and speech enhancement.”
Noise reduction must be used with care. Both types of noise reduction, when overdone, can affect the quality of your desired sound and make it sound unnatural or robotic.
Our final thoughts
Background noise can be a nuisance when capturing audio, but it doesn’t have to ruin your recordings. By following these tips and tricks, you can reduce background noise when recording audio and achieve better sound quality. Remember to choose a quiet location, use a directional microphone, adjust the microphone position and settings, and use noise reduction if needed. With some practice and experimentation, you can find the best solution for your recording situation and produce professional-sounding audio.
For more information on capturing great audio, please feel free to contact us!
To check out our other blogs, head to our Learning Hub. For other relatable content, choose from the list below.
I’m Not Receiving a Signal From My Microphone, What Do I Do?
How To Remove Buzz From Audio Recordings?

Bringing the Distant Near & Keeping Your Vision Clear.


Can Your Mic Reach As Far Your Lens?


Bringing the Distant Near & Keeping Your Vision Clear.


Clear Vision in Seconds, No Contact Required!


